
This is a set of instructions for fixing the "Error 521" error with Cloudflare and an Ubuntu web server, serving WordPress (or anything else, but this commonly happens with WordPress). Your Ubuntu server might be on DigitalOcean, Linode or anything else.
I use an Ubuntu server to serve my websites Hooshmand.net and my adventure travel blog where I document learning languages like Arabic and Swahili. These are both hosted on DigitalOcean, using Ubuntu servers. I also use Cloudflare to speed up my websites for low cost.
For Hooshmand.net I use Ghost, and for Discover Discomfort I use WordPress. WordPress is still far more flexible, even if I think Ghost is better than most other platforms!
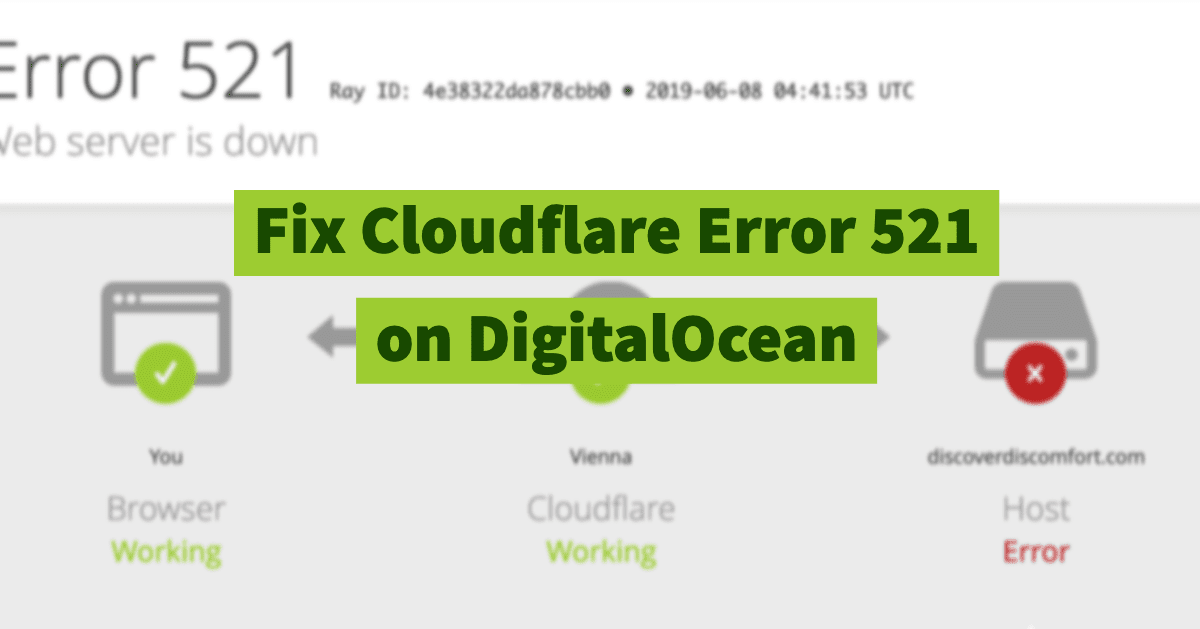
Unfortunately recently I started getting some random "Error 521: Connection Refused" errors. This is because my servers were being smart and blocking Cloudflare, probably because of spammy traffic.
(I only got this on my WordPress server. So I believe it was triggered by attackers trying to access my WordPress installation via Cloudflare.)

Interestingly, I could make my website work temporarily by doing things like
- Using a different VPN location around the world
- A new browser
- Private browsing session
Each of those only worked for a little while. E.g. a private browsing session would work, and then be blocked again. A different VPN location would also only work sometimes, and then temporarily. So I needed a permanent fix because I was afraid I was losing traffic.
The cause
There are two reasons you can get a 521 Error on Cloudflare, while your server is still working.
- Your website is refusing SSL requests in general
- Your web server is refusing requests
Your server might be refusing SSL requests if you only recently set up Cloudflare, or if you switched to "Full" or "Full (Strict)" modes in Cloudflare. In these cases, you have to make sure that SSL traffic is getting through to your server.
Your web server might be refusing requests if it's detecting spammy traffic from certain IPs, and decides to shut things down prematurely. This might happen regardless of whether or not you're getting spammy traffic. Cloudflare sends a lot of requests; servers might think this is spam.
Preliminary: Check your iptables (access table) rules
The first step is to be familiar with the tools, so you know what you're using and how to undo your work. We'll use iptables.
Iptables is a firewall that plays an essential role in network security for most Linux systems, including Ubuntu, the most common installation used on DigitalOcean web servers.
To get started, list your iptables rules:
sudo iptables -S INPUTIf you haven't yet made any modifications and have a WordPress installation on your Ubuntu server, it'll look something like this:
-P INPUT DROP
-A INPUT -p tcp -m multiport --dports 80,443 -j f2b-wordpress-hard
-A INPUT -p tcp -m multiport --dports 22 -j f2b-sshd
-A INPUT -j ufw-before-logging-input
-A INPUT -j ufw-before-input
-A INPUT -j ufw-after-input
-A INPUT -j ufw-after-logging-input
-A INPUT -j ufw-reject-input
-A INPUT -j ufw-track-input
You can also use a few other filters other than INPUT. But INPUT is the most important one.
If you want, you could delete specific rules listed above using -D instead of -A (for 'add'). For example to remove the last rule, you'd type:
sudo iptables -D INPUT -j ufw-track-inputThere, that's a quick introduciton. For a more comprehensive tutorial, check out this tutorial on DigitalOcean.
Step 1: Open up port 443 for Cloudflare SSL
If you use "Full" or "Full (Strict) mode in Cloudflare, your packets might be being dropped if you don't open up port 443. You resolve this by opening up port 443 in iptables.
Open up port 443 generally. This will get rid of some errors.
iptables -A INPUT -p tcp -m tcp --dport 443 -j ACCEPTStep 2: Whitelist Cloudflare IP addresses for your server
Cloudflare is a "reverse proxy" (Cloudflare is not a CDN, as most beginner web publishers think, but it does speed up your website by caching).
In a nutshell, this means that every time someone accesses your website, Cloudflare serves up cached versions of the data on your site. In the background, Cloudflare occasionally goes to your website to see what has changed, updating its caches.
Because Cloudflare is used by all kinds of crazy people all over the internet (including me), it can be deemed a source of "bad traffic" by automatic firewall rules. So you need to whitelist the Cloudflare servers (if you trust them!) to make sure that traffic comes through.
Cloudflare gives general advice on how to add these ip addresses here. They suggest a couple of long ways, but there's a quicker and easier way (without installing additional software like ipset like they recommend, which is an unnecessary extra step).
Firstly, their long (manual) way. It'll take about 10 minutes so it's not bad. You have to manually address the Cloudflare IP addresses to your firewall tables.
These are the IP addresses you need to add: https://www.cloudflare.com/ips/.
The LONG way to do this, is for each of these, to run the commands (for ipv4 and then ipv6)
iptables -I INPUT -p tcp -m multiport --dports http,https -s "$ip" -j ACCEPT
ip6tables -I INPUT -p tcp -m multiport --dports http,https -s "$ip" -j ACCEPT
The shorter (automated) way: Loop through them using a quick for loop in your terminal.
Cloudflare stores the IP addresses in two text files. These are in https://www.cloudflare.com/ips-v4 and https://www.cloudflare.com/ips-v6. (These files are also linked from their help page on the topic).
Here are the two bash commands to loop through them all
for ip in $(curl https://www.cloudflare.com/ips-v4); do iptables -I INPUT -p tcp -m multiport --dports http,https -s "$ip" -j ACCEPT; done
for ip in $(curl https://www.cloudflare.com/ips-v6); do ip6tables -I INPUT -p tcp -m multiport --dports http,https -s "$ip" -j ACCEPT; done
For each command you won't see much action, just a quick notification that the curl command worked.
So since you don't know if it worked, run a quick command (like at the top of this tutorial) to make sure it still work.
The output should now have all the new IP addresses in it:

And boom! your website should be live again.